

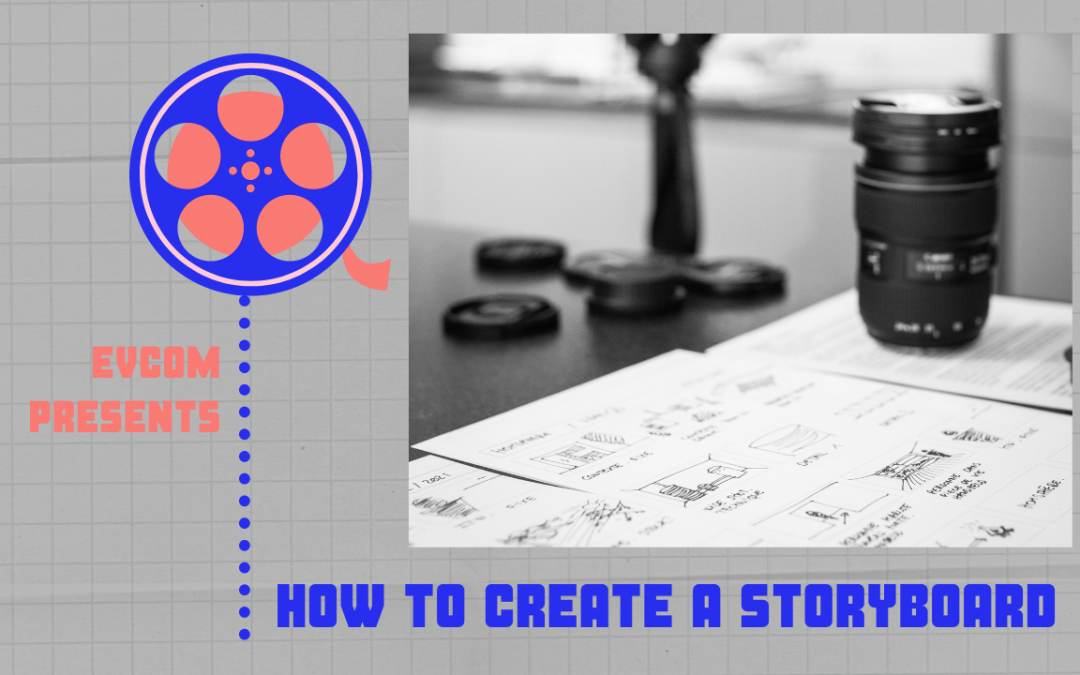
“The storyboard is the way to visualize the entire movie in advance.”
Martin Scorsese
When you’re making a film, a storyboard is the best tool available to you to help you plan out your shots, and to get a sense of how the film will look before you have begun shooting it. It involves creating a series of images with notes, that document everything that’s going to happen in your film from key action points to sound! It’s a really vital step in the pre-production process that will help the rest of the production go far more smoothly. You won’t waste time (and money) filming unnecessary shots and your actors and camera operators will all know where they need to be in advance.
So how do you go about creating one?
Digital or Analogue (or both)
You can create storyboards in a digital or analogue format. You might want to do both! Storyboarding by hand involves drawing and illustration, and can be a really organic way to get the look and feel of a film down onto paper. So it’s a great place to start. If drawing isn’t your strong point, don’t worry! These drawings don’t need to be beautiful, they just need to be functional. Stick figures are allowed. You can also print and add photos, cut images from magazines and build your scenes through collage if you’re not comfortable drawing. If you want to go digital, there are now free programmes you can download to create storyboards, into which you can insert photos and animation, and highlight key characters, scenes and objects.
Scenes
Identify the key scenes in your narrative. Highlight the major beats. This could include significant actions, location and wardrobe changes, staging and narrative arcs, and of course major plot points. You’ll also need to think about how you’re moving from one to the next.
Write down each scene. This is where you can start drawing, collaging or inserting your collected digital imagery. When looking at scenes, you’ll want to think about location, wardrobe and so on – the things that will stay consistent across a scene.
It’s really helpful to number your scenes for filming on the day.
Detail
You want your storyboard to be as useful as possible, not just in the planning process but on the day so your production team can refer to it. So it’s all in the details, which means it’s time for you to create your shot list.
A storyboard needs to break down every last bit of action into individual storyboard panels – explaining what will happen in each shot. Make a note of the type of shot it’s going to be – will it be close up or wide etc, whether the camera is still or stationary, the point of view. The more you can get on there, the better. Translate as much of your vision as you possibly can onto this storyboard and it will help you and the rest of the team.
However you don’t want your images themselves to be too busy so make sure you’ve left space for notes beneath and/ or around them so the visuals are kept clean.
Once again, we’d recommend numbering your shots to help you out on the day.
Beyond the Visuals
Storyboards are visual, so it’s easy to forget that there are other things to take into account. If there are sound effects you are using, note them down. If there’s going to be a voiceover, write that down too.
You’ll likely be working with still images (whether digital or drawn) so don’t forget to make a note of the action in the scene. Where will the actors be standing in relation to each other and the camera(s)? How will they be moving? You can use arrows to indicate motion.
You’ll need to think about lighting too. Will you be using natural light or bringing lights in? Write it ALL down.
On the Day
Make sure you have a digital or printed version of this available for yourself and everyone on the team. It’s a great reference to steer the filming process.
You can use the numbering system you’ve created for your shots and scenes to number the clapperboard, which makes it easy to keep track of what’s been shot, especially if you’re shooting out of order.
Take notes of best shots on your printed storyboard on the day. You can then give this to the editor to use so they can cross check the slate at the start again the storyboard.
Useful Resources
https://www.masterclass.com/articles/how-to-make-a-storyboard-for-a-film
https://www.studiobinder.com/blog/how-to-make-storyboard/
https://milanote.com/guide/film-storyboards